%20--%3e%3cdefs%3e%3cstyle%3e%20.st0%20{%20fill:%20%23061b40;%20}%20.st1%20{%20fill:%20%23306af1;%20}%20.st2%20{%20fill:%20%235ce5cf;%20}%20%3c/style%3e%3c/defs%3e%3cg%3e%3cpath%20class='st0'%20d='M55,10.5h9v3h-9v9h12V7.5h-12v3ZM64,19.5h-6v-3h6v3Z'/%3e%3cpolygon%20class='st0'%20points='69%2016.5%2078%2016.5%2078%2019.5%2069%2019.5%2069%2022.5%2081%2022.5%2081%2013.5%2072%2013.5%2072%2010.5%2081%2010.5%2081%207.5%2069%207.5%2069%2016.5'/%3e%3cpolygon%20class='st0'%20points='95%2010.5%2095%207.5%2083%207.5%2083%2022.5%2095%2022.5%2095%2019.5%2086%2019.5%2086%2016.5%2095%2016.5%2095%2013.5%2086%2013.5%2086%2010.5%2095%2010.5'/%3e%3cpath%20class='st0'%20d='M40,1.5v21h11.6l1.4-1.4v-7.6h0c0,0-1.4-1.5-1.4-1.5l1.4-1.4V2.9l-1.4-1.4h-11.6ZM50,19.5h-7v-6h7v6ZM50,10.5h-7v-6h7v6Z'/%3e%3c/g%3e%3cpath%20class='st1'%20d='M23.1,24L14.7,4.8l-4.9,11.2h3.8l-1.8,4H3.3L12.1,0H2C.9,0,0,.9,0,2v20c0,1.1.9,2,2,2h21.1Z'/%3e%3cpath%20class='st2'%20d='M34,0h-16.8l10.6,24h6.2c1.1,0,2-.9,2-2V2C36,.9,35.1,0,34,0ZM32.5,20h-4V4h4v16Z'/%3e%3c/svg%3e)
This is the second article in the MCP client getting-started tutorial series: "MCP Client Getting-Started Tutorial: Installation and Configuration of Cursor".
MCP (Model Context Protocol) is an open standard protocol launched by Anthropic (the parent company of Claude) in November 2024. It provides developers with a powerful tool to establish a secure two-way connection between data sources and AI-driven tools.
Simply put, if an AI is compared to an intelligent device that can only process text, then MCP is like installing a "universal plug" for it, enabling it to directly read your computer files, query databases, even operate GitHub to submit code, and call various third-party platforms.
Currently, MCP has been widely used in many AI tools such as Claude desktop version, Cline, Continue, Cursor, and Windsurf. In this article, AIbase will focus on introducing the installation process of the Cursor editor and the configuration of the MCP service. Through this tutorial, you will learn how to quickly set up Cursor and connect it to the MCP server to fully utilize the powerful functions of AI-assisted programming.
I. Introduction to Cursor
Advantages of Cursor as an MCP client
Cursor is an AI-enhanced code editor based on VS Code and also a powerful MCP client. As an MCP client, Cursor has the following advantages:
- Intuitive user interface: It provides a graphical MCP server configuration interface.
- Tool invocation support: It supports the Tools function in the MCP protocol.
- Flexible configuration options: It supports both command-line (stdio) and network (sse) transmission methods.
- Rich ecosystem: It has a large number of open-source MCP server resources.
II. Installation steps of Cursor
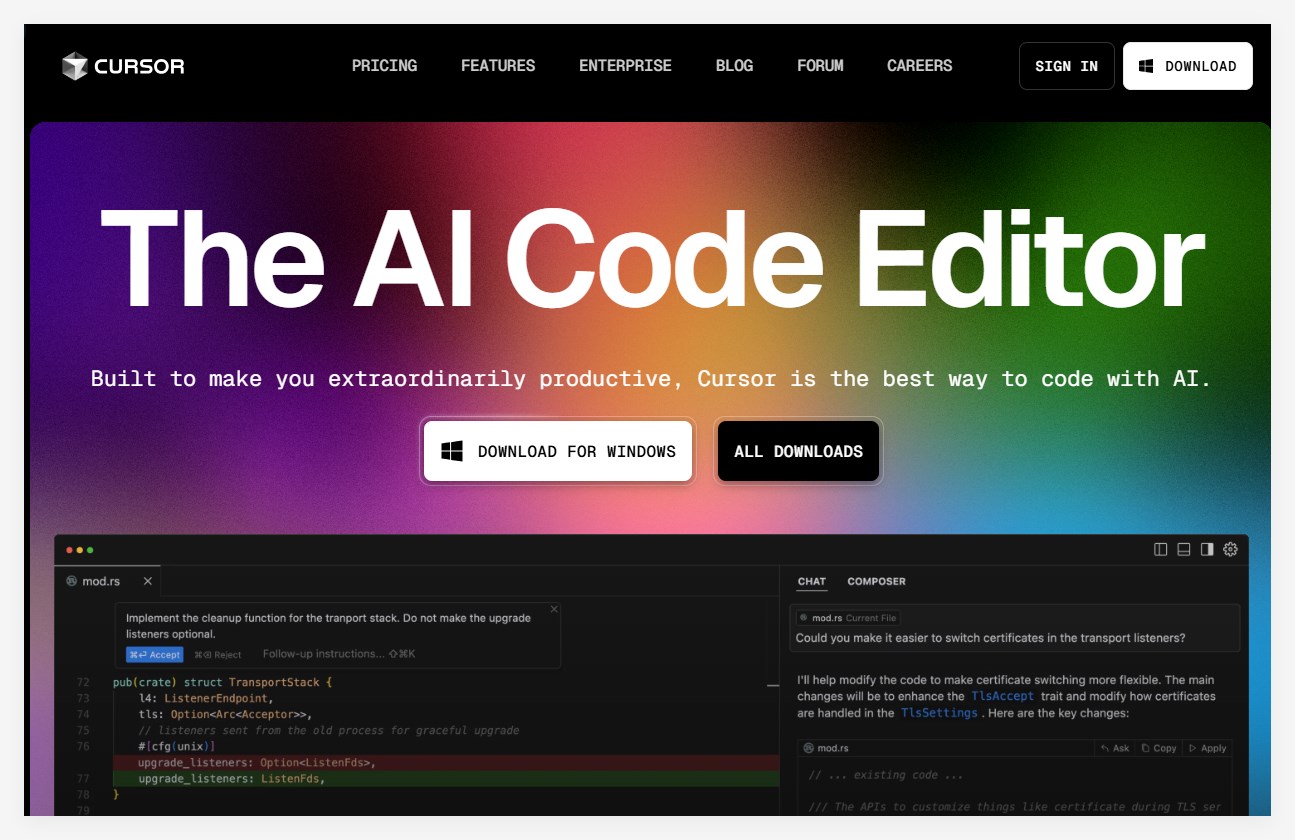
1. Download Cursor
First, we need to download the latest version of the software from the official Cursor website. Visit the official Cursor website: https://www.cursor.com/
2. The corresponding version will be automatically provided for download according to your operating system. Generally, it is as follows:
Windows users: Select Windows 10/11 (x64).
Mac users: Select the corresponding version according to the processor (Universal/Arm64/x64).
Linux users: Select the.AppImage corresponding version.
2. Install Cursor
Windows installation steps: Double-click the downloaded installation file (usually in.exe format) and wait for the installation program to automatically complete the installation process (Cursor usually does not require you to select the installation directory).
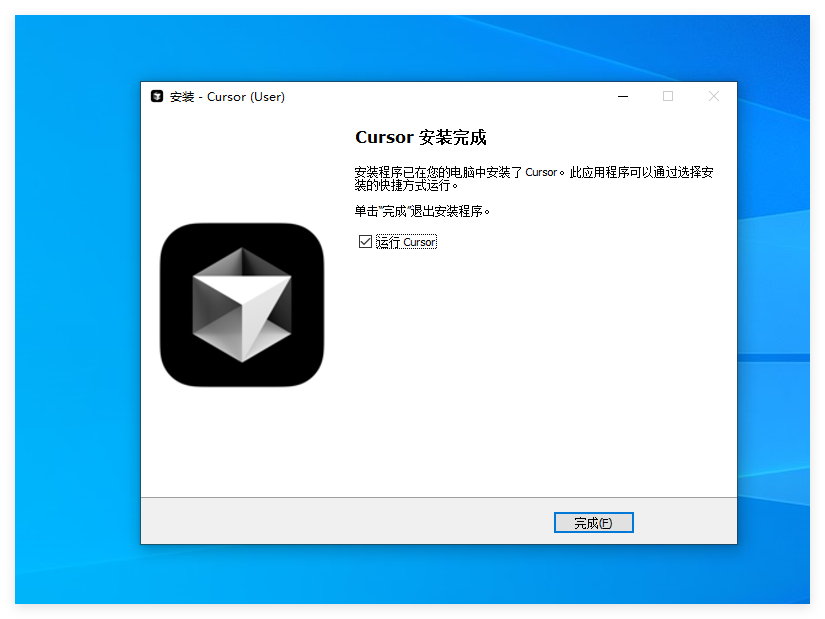
After the installation is complete, log in to your account: Create/login to your Cursor account using GitHub, Google, or your email. Cursor will automatically start and display the configuration interface.
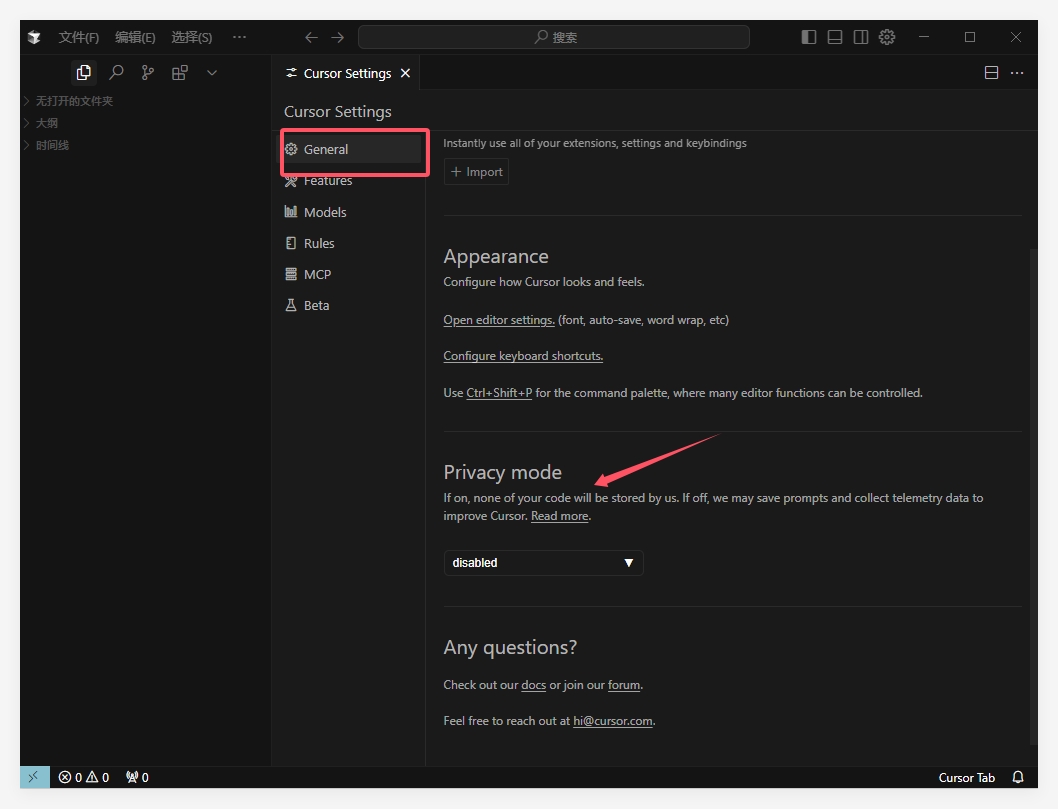
3. Initial configuration
Keyboard layout selection: Select the Vim or Emacs layout according to your personal preference. If you are not familiar with them, you can select the default "None". Theme selection: Select the light or dark theme.
Privacy settings: If you do not want to share your data with Cursor, you can select Privacy Mode.
4. Chinese interface setting (optional)
If you want to use the Chinese interface, you can operate as follows:
1) Set the Chinese version using the extension program
Open the Cursor software, press the keyboard combination Ctrl+Shift+X to enter the extension program page. Enter "Chinese" in the search box to search for the Chinese language pack. Find a suitable Chinese language pack in the search results and click to install. After the installation is complete, restart the Cursor software, and you will see that the software interface has been successfully switched to Chinese.

2) Configure the language settings for the Chinese version
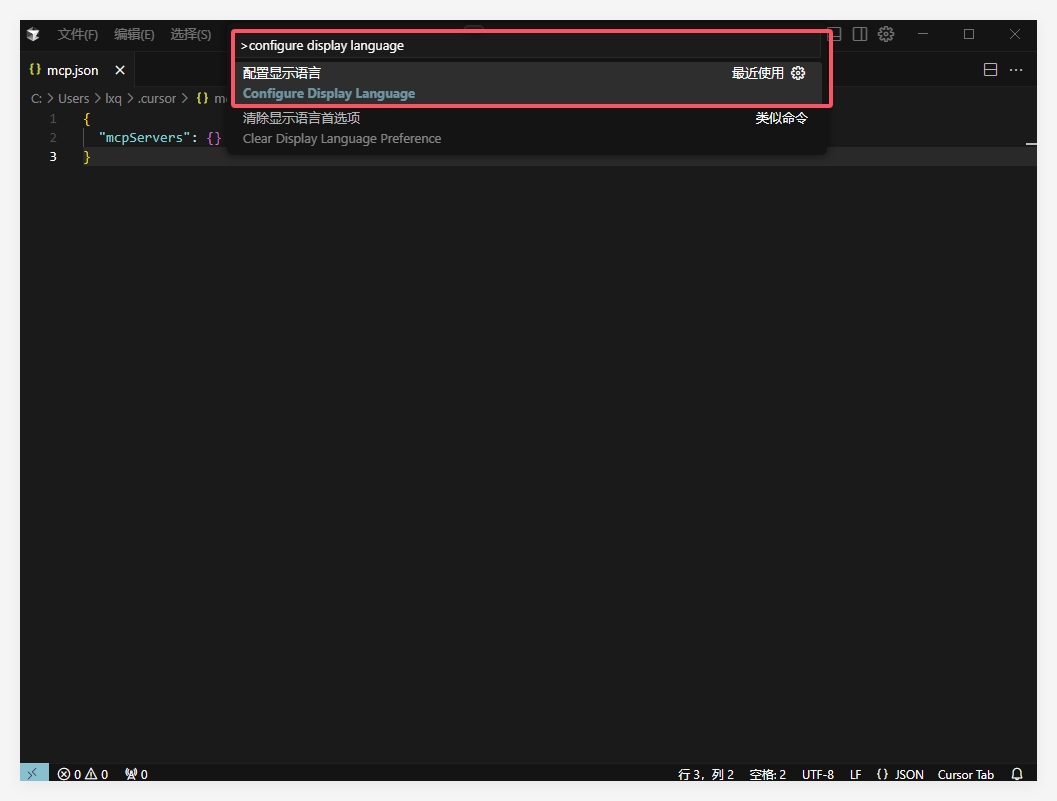
Open the Cursor software, press the keyboard combination Ctrl+Shift+P to open the command panel. Enter "configure display language" in the search box of the command panel and press Enter.
On the pop-up language configuration page, select "Chinese (Simplified)" as the display language. Click the "Save" button and restart the Cursor software, and you will see that the software interface has been successfully switched to Chinese.
III. MCP configuration steps
To use the MCP function in Cursor, you need to complete the configuration of the MCP server first. The following are the detailed steps:
1. Prepare the basic environment
Before configuring MCP, ensure that the following components are installed in your system:
- Node.js: Version ≥ 14 (Verification method: Enter
node -vin the command line to view the version number) - Git: The latest stable version
- Python: Some MCP services require Python 3.10 or a higher version (optional)
2. Access the Cursor MCP settings
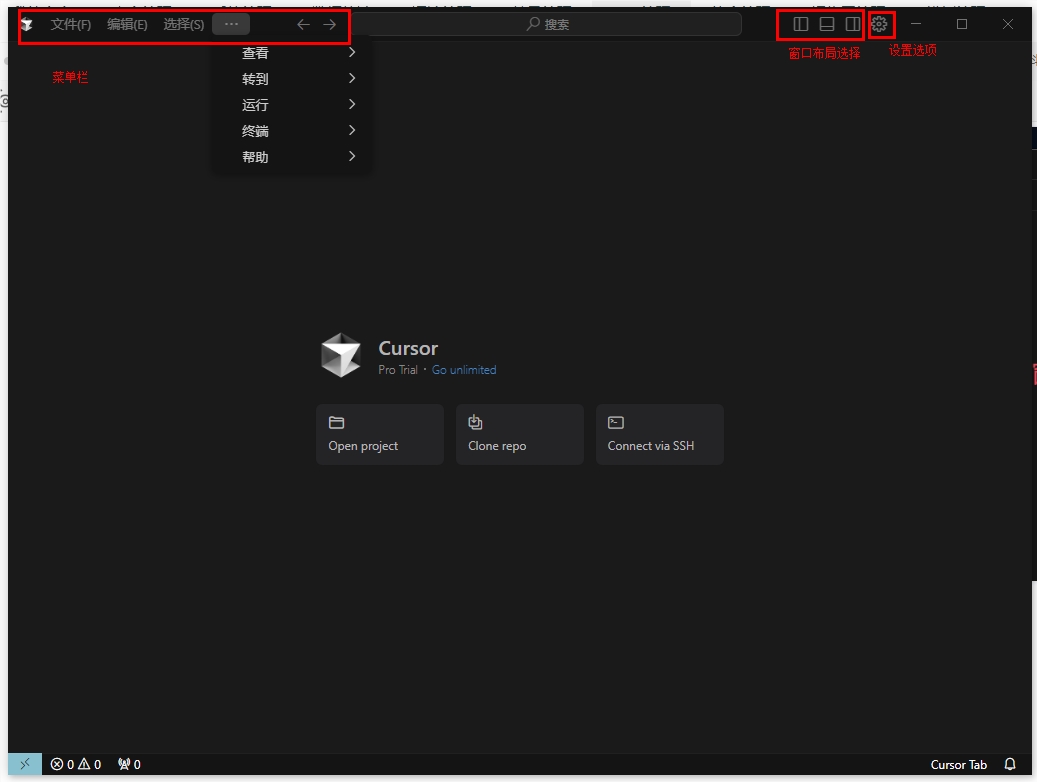
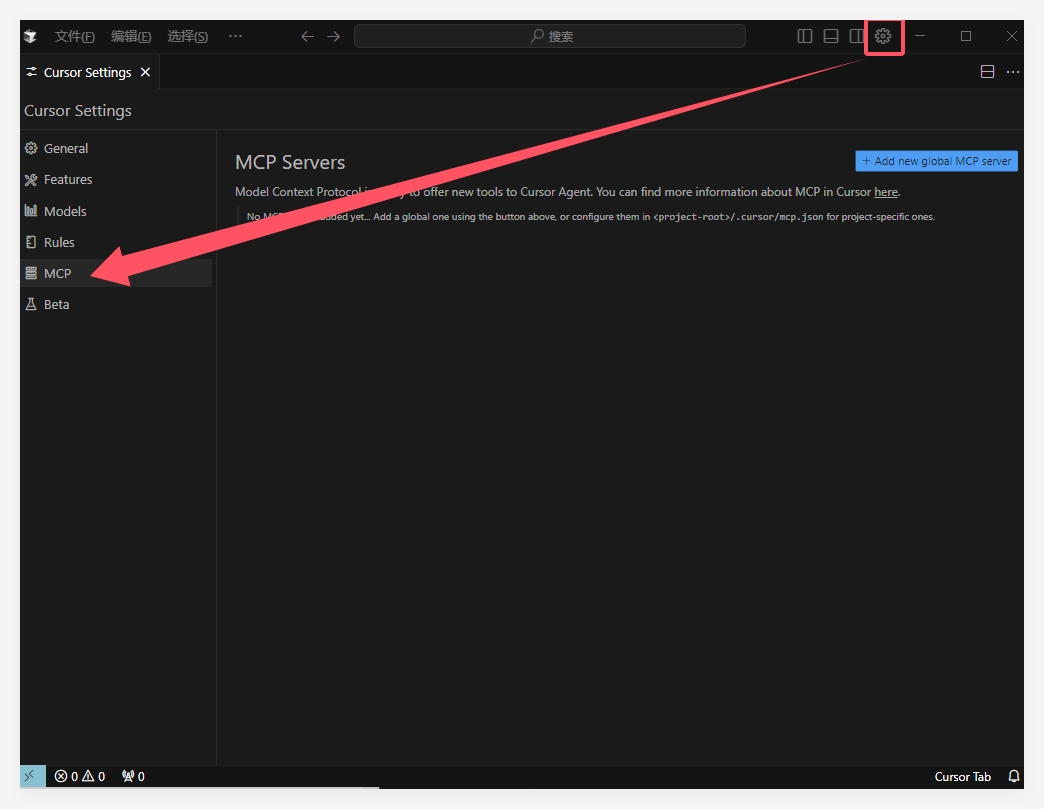
You can open the Cursor settings in the following two ways:
1) Click the gear icon in the upper right corner, which is the "Settings" option. Find and click "MCP" in the left menu that appears.
2) In the search box, use the shortcut key Ctrl+Shift+P (Windows/Linux) or Cmd+Shift+P (Mac) to open the command panel, search for "Cursor Settings", and find and click "MCP" in the left menu.
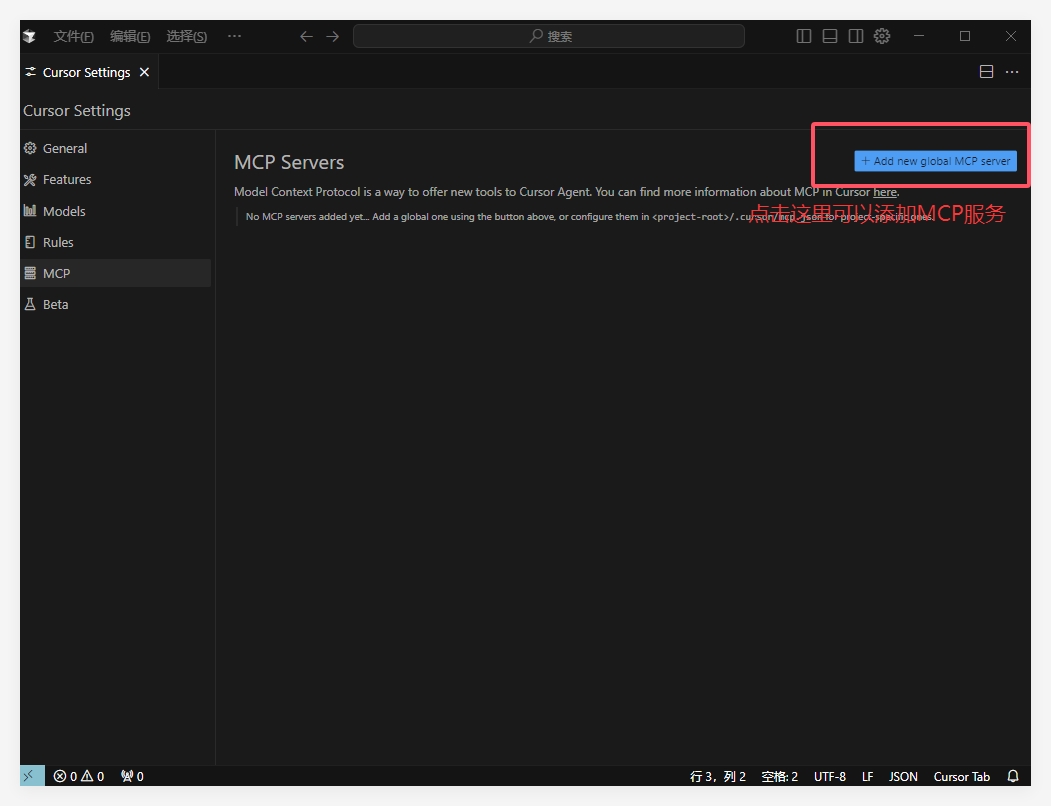
3. Add an MCP server
On the MCP settings page, click the "+ Add New MCP Server" button, and a configuration window will appear:
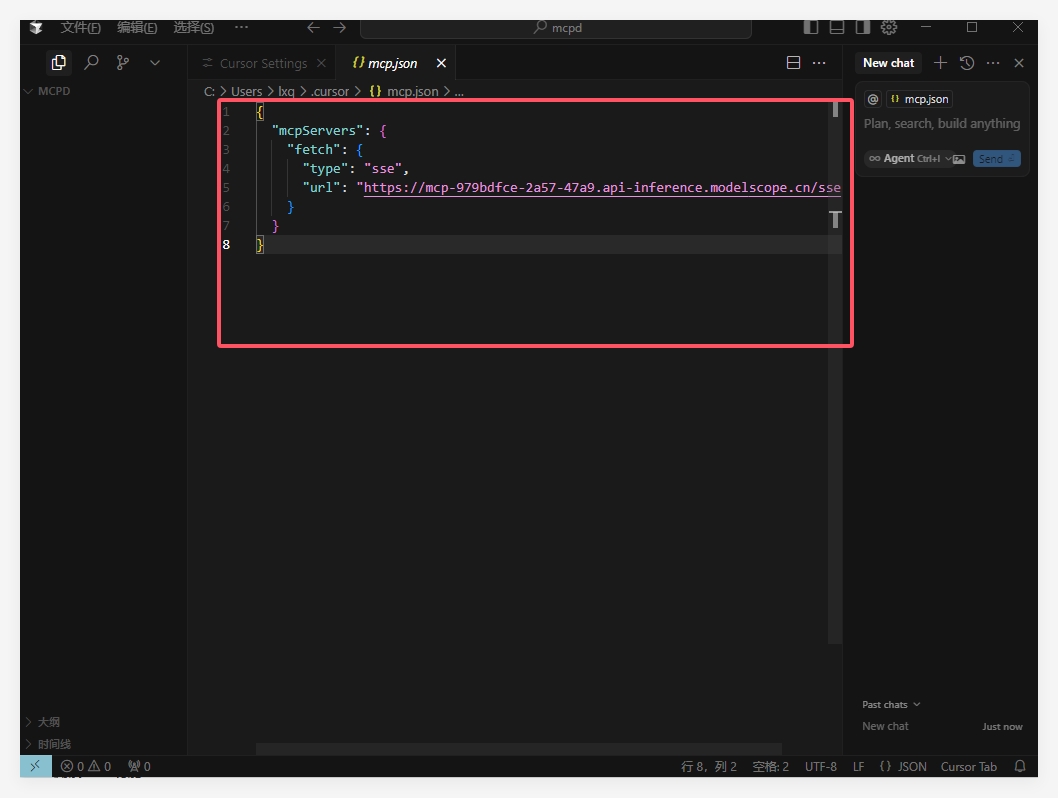
After clicking "Add", an edit box will appear. Enter the configuration code for the MCP service.
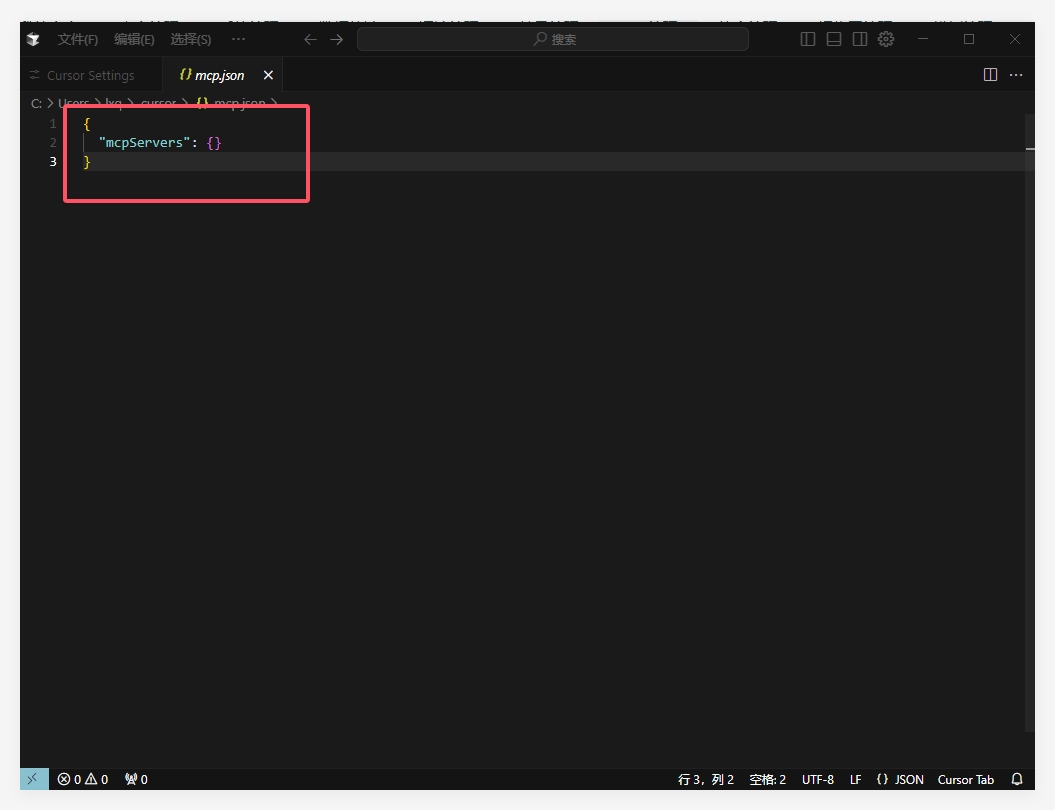
Official example: Here, the MCP configuration file uses the JSON format with the following structure:

4. Configure the Web search MCP service (example)
The following are the specific steps to configure the Web search MCP service:
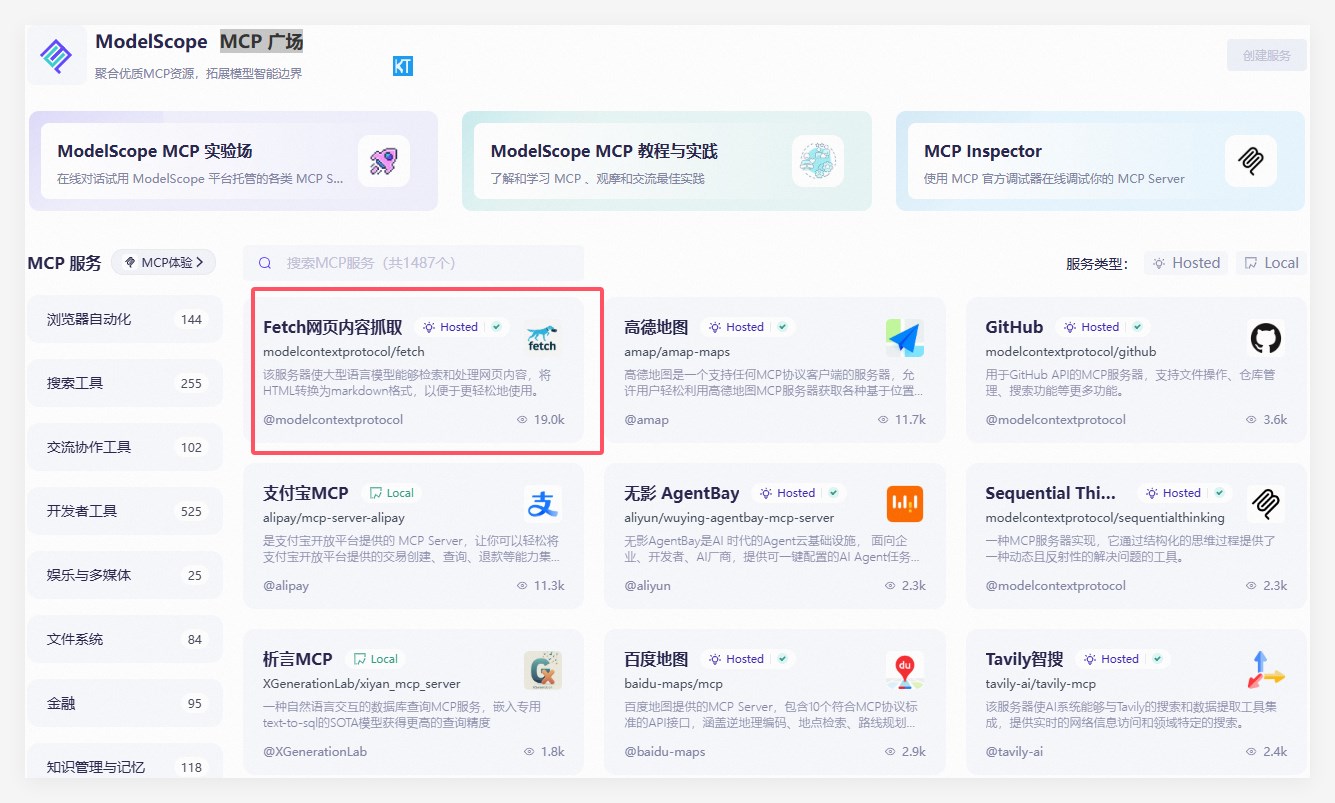
Visit the Magic Tower Community MCP Square: https://modelscope.cn/mcp. For example, select the "fetch webpage content crawling" service:
Find and copy the Cursor installation command on the right side:
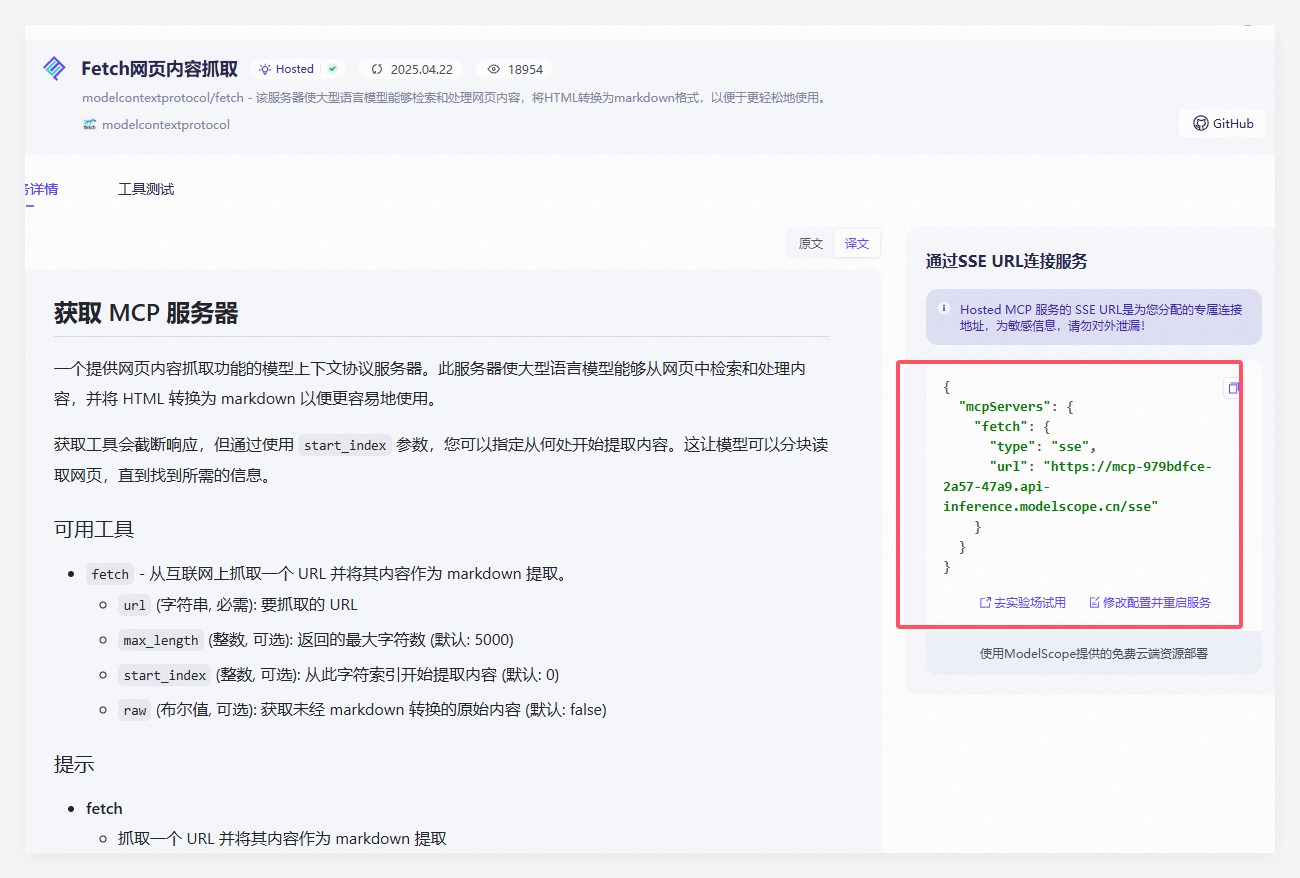
Copy the command field into the editor and save it. Then, the "fetch webpage content crawling" MCP service in the above example is successfully added.
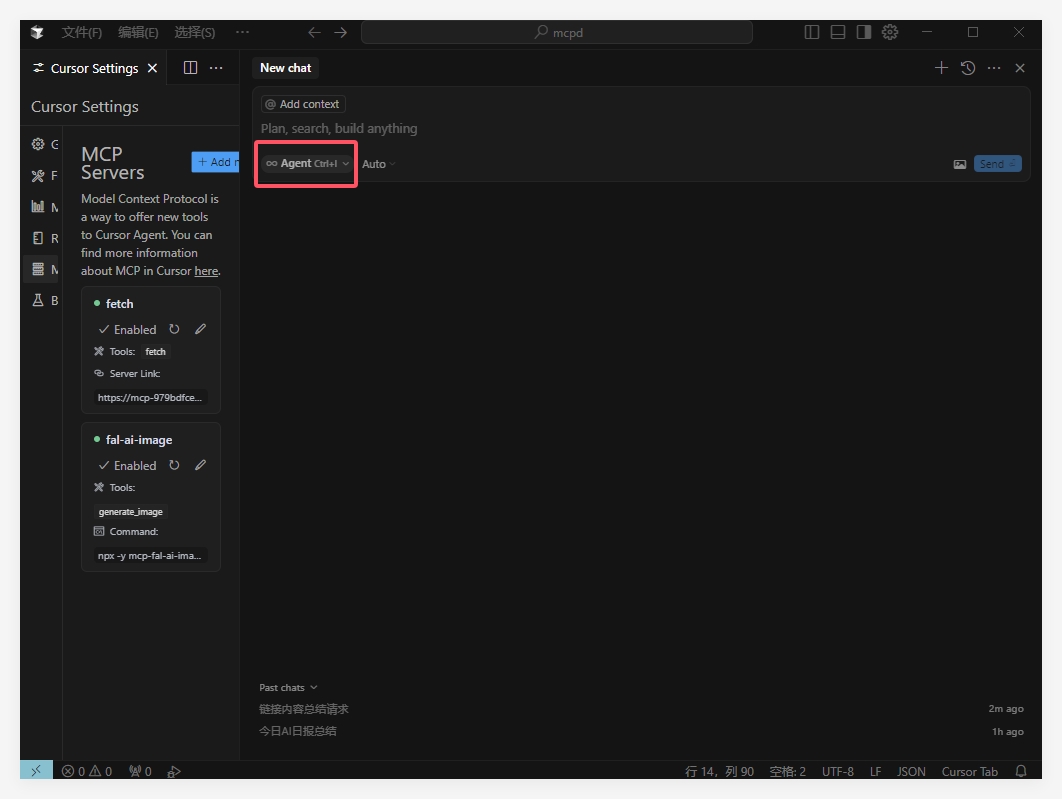
5. Verify the MCP server status
After the addition is complete, you will see a new "fetch" MCP service in the directory, and the MCP server should be displayed as available. A successfully configured MCP server will show a green indicator or a tick in the list.

In a similar way, AIbase has also added another MCP service "fal ai" that can generate images in this example, which can be used in combination later.
IV. Using MCP functions
When using the configured MCP functions, you need to note the following points:
1. Usage restrictions
Important note: Currently, MCP tools are not applicable to all models and are only available at the Agent in Composer. In the new version of Cursor, Composer has been moved to the lower left corner of the chat box and renamed "Edit".
2. Test MCP functions
Open the chat function of Cursor and use the following steps to test MCP:
1) Click the "Edit" button in the lower left corner of the chat box to switch to Agent mode. Then, enter relevant instructions in the chat box to test whether the MCP tool can be called normally.
2) Enter the Agent mode chat window, enter instructions, and observe whether Cursor calls the corresponding MCP tool and returns results. When the MCP tool is successfully called, a prompt "Called MCP tool" will be displayed.
Next, AIbase will specifically demonstrate the implementation effect. Enter a link "https://www.chinaz.com/ainews/17410.shtml" in the chat window, and the prompt is to "summarize the article content in 200 words and give a title". The tool will automatically call the "fetch" MCP service, and the generated effect is as shown in the following figure:
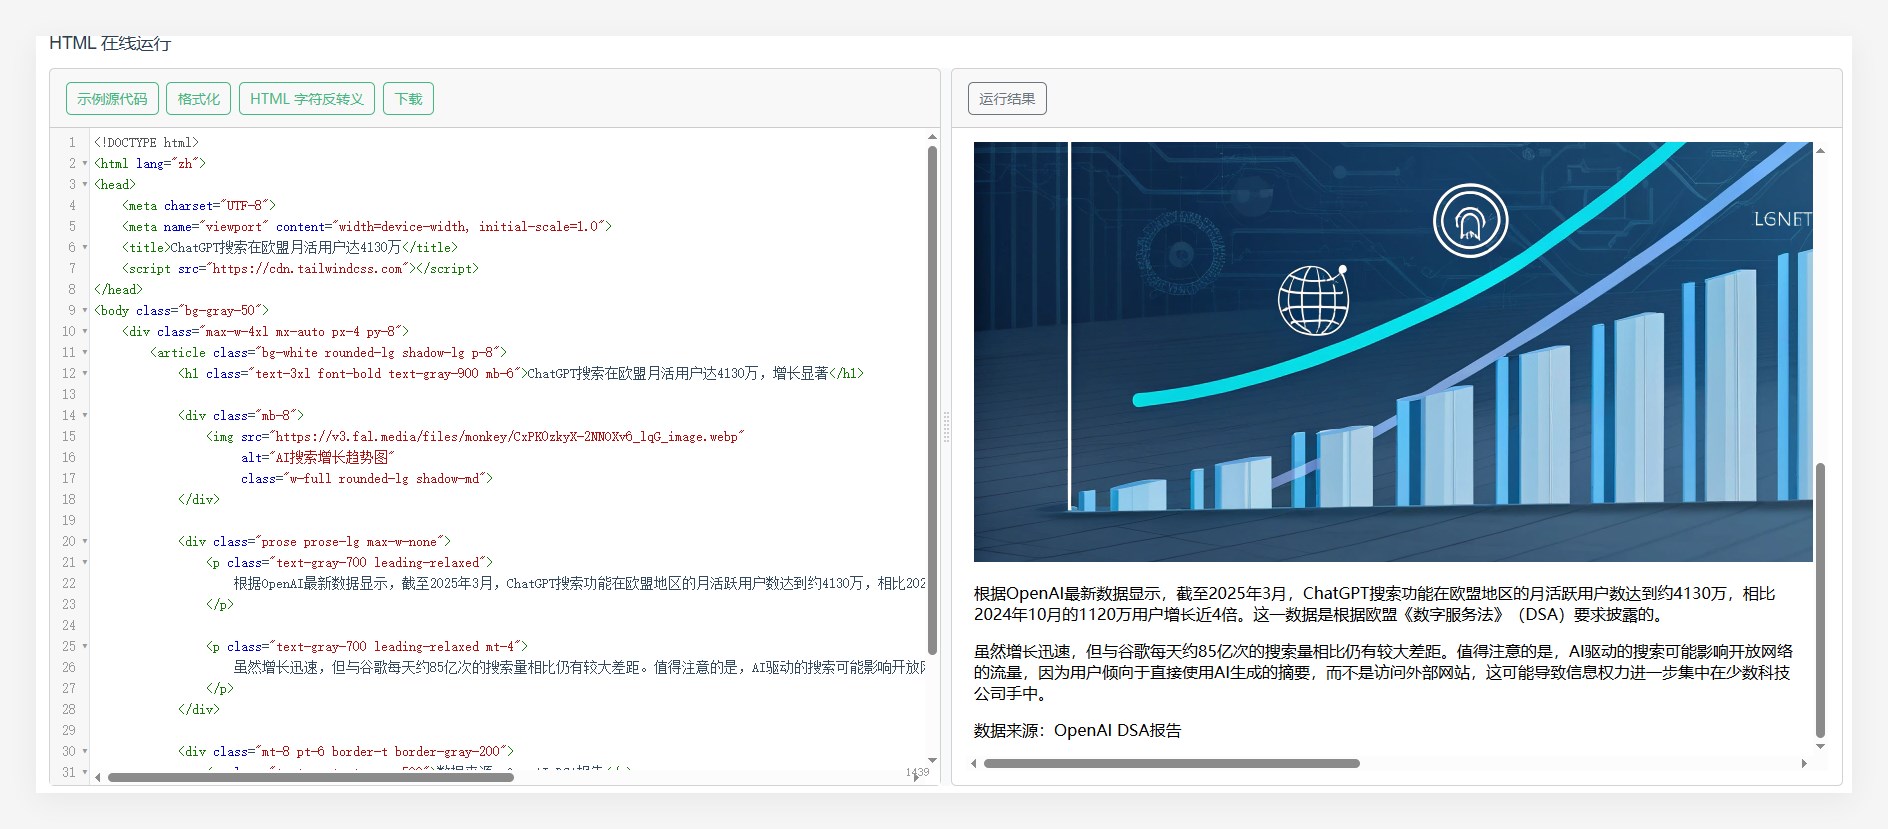
We then cooperate with the MCP service for image generation and require to match the generated content with pictures. Enter the instruction "Render the final article content in the tailwindcss + html format."
At this time, the tool will automatically call the "fal ai" MCP service, and finally generate the html page content according to the instruction requirements. In this case, we copy this code and run it on an html line to display. You can see that pictures have been added to the content, roughly as follows:
V. Common problems and solutions
1. Failed to connect to the MCP server
If the MCP server is displayed as unavailable, try the following solutions:
Check environmental dependencies: Ensure that necessary components such as Node.js and Git are correctly installed.
Execute commands in the terminal: Copy the MCP commands to the system terminal and execute them to check if there are detailed error messages.
Restart Cursor: Completely close and restart Cursor.
Update Cursor: Ensure that you are using the latest version of Cursor.
2. Command execution timeout
Sometimes, MCP configuration depends on other package environments, and the download takes a certain amount of time. If the connection is not completed within the time limit specified by Cursor, an error will occur. At this time, you need to:
Copy the command to the command-line terminal
After the successful execution in the terminal, return to Cursor and refresh the status.
3. MCP tools do not display
If the configured MCP tools do not display in the call list, it may be because:
You are not in Agent mode currently: Ensure that you switch to the Edit (formerly Composer) mode in the chat interface.
The tool list is not updated: Try to refresh the MCP server list.
The server is not started: Check if the MCP server status is active.
Summary
Through this tutorial, we have introduced in detail the installation steps of the Cursor editor and the configuration method of the MCP service. The emergence of the MCP protocol provides powerful expansion capabilities for AI tools, making Cursor not only a code editor but also a feature-rich AI development environment.
With the continuous development of the MCP ecosystem, more and more services will be connected, further enhancing the functions of Cursor. We hope this tutorial will help you quickly get started with Cursor and MCP and improve development efficiency.
Remember, when using MCP functions, you must operate in the Composer/Edit mode of Cursor so that you can successfully call MCP tools. If you encounter problems, you can try the solutions to common problems provided in this tutorial or refer to the official documentation for more support.
MCP client getting-started tutorial series
《MCP client getting-started tutorial: Installation and configuration of Cherry Studio》
《MCP client getting-started tutorial: Installation and configuration of ChatWise》
《MCP client getting-started tutorial: Installation and configuration of Cursor》
《MCP client getting-started tutorial: Installation and configuration of trae》
《MCP client getting-started tutorial: Installation and configuration of Claude》